How To Make a Hero Image in Next.js


URL copied to clipboard
You may have made a hero image a few times before, but have you done one in Next.js? If you haven't done that, you may find it tricky if you would try. Here I'll guide you how to do that and warn you about the gotchas.
In This Article
- Next.js Image Component
- Failed Attempts To Create a Hero Image With Next.js
- How To Create a Hero Image With Next.js
- Solution Explained
- Summary

Next.js Image Component
Next.js provides a really powerful Image component which you definitely should use if you don't have a reason not to. It handles several things for you, some which are enabled by default and some which you have to specify yourself. Some examples of what the Image component can do are:
- Automatically resize images for you. No need to manually generate images of different sizes to use in a picture element with a srcset. It supports several type of layouts. Unfortunately, it isn't very easy to understand from the documentation when to use which layout.
- Lazy load images. Images are fetched firstly when they are closed to being scrolled into view. If you need to opt out of this behavior, you can specify the prioritize property.
- It lets you optimize image sizes and quality in different ways.
- Allows you to blur images by providing a temporary blur-image. If you want a single-colored blurred background, you can generate a base64 encoded one on png-pixel.
<Image
    blurDataURL="data:image/png;base64,iVBORw0KGgoAAAANSUhEUgAAAAEAAAABCAYAAAAfFcSJAAAADUlEQVR42mPkso6pBwACGgEie2Im0gAAAABJRU5ErkJggg=="
    placeholder="blur"s
    src={memeUrl}
    layout="fill"
    alt="Programming meme"
/>
Pass a base64 image to blurDataURL to use it as a blur placeholder
To see blurred images in action, head over to the memes page at my website and scroll down. Next.js handles the blurring and lazy loading automatically.
Failed Attempts To Create a Hero Image With Next.js
Trying to create a hero image with Next.js can be a troublesome process. As I mentioned above, you should use Next.js built-in Image component if you don't have a reason not to.
In a first attempt to create a hero image, you may think you can set the width of the Image component to 100%. Unfortunately, that is not possible with remote images, Next.js don't support that. You'll end up with a 100px wide image instead.
A second try could be to avoid specifying width for the Image component in hope for that it would fill the parent element. Doing that will result in an Unhandled Runtime Error.
"Error: Image with src SOURCE must use "width" and "height" properties or "layout='fill'" property."

The error Next.js outputs is quite clear. You are required to set both a width and a height on the Image component, unless you provide the fill value to the layout property. You do exactly what Next.js suggests since you are a law-abiding citizen, or maybe because you have no better ideas to try.
Using the layout property removes the error, but your hero image now fills the whole viewport instead of the div that wraps it. Perfect... You start realizing that you will be late to grandma's dinner party tonight.
Being pretty great at hacking CSS, you play around with the element inspector in the browser a bit. You don't really get anywhere and neither Stack Overflow or Next.js documentation is to any help, and you don't find a tutorial for it. Maybe it's best to use a native image element rather than the Image component Next.js provides?

How To Create a Hero Image With Next.js
I'm happy to announce that there is an easy way to fix it. The key to success is to use position: relative on a parent element. I would suggest to do four things.
- Add a hero wrapper element with position: relative and an appropriate width and height.
- Add a Next.js Image component with the layout property set to fill.
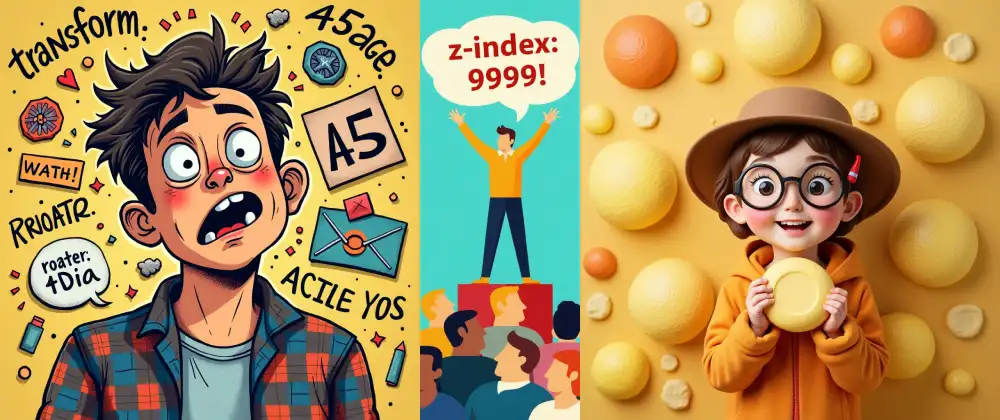
- Wrap the Image component in a div with z-index: -1.
- Add whatever hero content you want in a relative positioned div in the hero wrapper. Place your hero content in that div.
The complete solution would look like this.
// Header component.
import Image from "next/image";
import styles from "../header.module.css";

const { heroContent, heroWrapper, imageWrapper } = styles;

const IMAGE_URL =
  "https://www.perssondennis.com/images/articles/how-to-make-a-hero-image-in-nextjs/perfect-avocado.webp";

export default () => {
  return (
    <div className={heroWrapper}>
      <div className={imageWrapper}>
        <Image
          priority
          src={IMAGE_URL}
          layout="fill"
          objectFit="cover"
          objectPosition="center"
          alt="hero image example"
        />
      </div>

      <div className={heroContent}>
        <h1>Hero Image</h1>
        <p>Next.js hero image example.</p>
      </div>
    </div>
  );
};
/* header.module.css */

/* step 1 */
.heroWrapper {
  position: relative;
  width: 100vw;
  height: 50vh;
}

/* step 3 */
.imageWrapper {
  z-index: -1;
}

/* step 4 */
.heroContent {
  position: relative;
  display: flex;
  flex-direction: column;
  align-items: center;
}

Solution Explained
So, what did we do there? In step 1. we added a relative position to the hero wrapper. That's the secret to success in this case. Next.js will set an absolute position on its image when you set the layout property to fill in step 2..
/* step 1 */
.heroWrapper {
  position: relative;
  width: 100vw;
  height: 50vh;
}
<div className="{imageWrapper}">
  <image
    priority
    src="{IMAGE_URL}"
    layout="fill"
    objectFit="cover"
    objectPosition="center"
    alt="hero image example"
  />
</div>
In CSS, absolute positioned elements are absolute relative to their closest parent that is explicitly positioned. By setting the hero wrapper's position to relative, the absolute positioned image within it will grow to be just as large as the hero wrapper becomes.
The hero wrapper will in turn be as large as the content you add to it in step 4.. Note that the hero image's width and height does not contribute to the hero wrapper's width and height since the image has an absolute position.
If you would remove the relative position from the hero wrapper, you would see that the image instead grows to be as large as the viewport, because no parent or grandparent has a position specified.
In step 3., we wrapped the hero image in a div (imageWrapper) with z-index set to -1, and in step 4 we added a relative positioned div (heroContent) as a sibling to the image wrapper. That is just to ensure that other components will show on top of the hero image.
/* step 3 */
.imageWrapper {
  z-index: -1;
}

/* step 4 */
.heroContent {
  position: relative;
  display: flex;
  flex-direction: column;
  align-items: center;
}
We do now have what we need to implement a hero image with the Next.js Image component. You can fill it with whatever content you want, personally I prefer centered content, which is most easily done with flex column and a centered align-items property!
Summary
- Always use Next.js Image component if you don't have a reason not to do it.
- If you want to create a hero image with Next.js image component, wrap the hero image and its content in a relative positioned div and set the image's layout property to fill.
- Wrap the hero image in a div with a z-index of -1 to make it show underneath the content in the hero section.
- Create a div below the image wrapper and let it have a relative position.